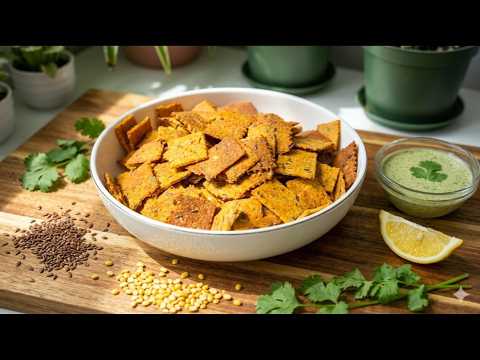
High Protein Flourless Mung Crackers
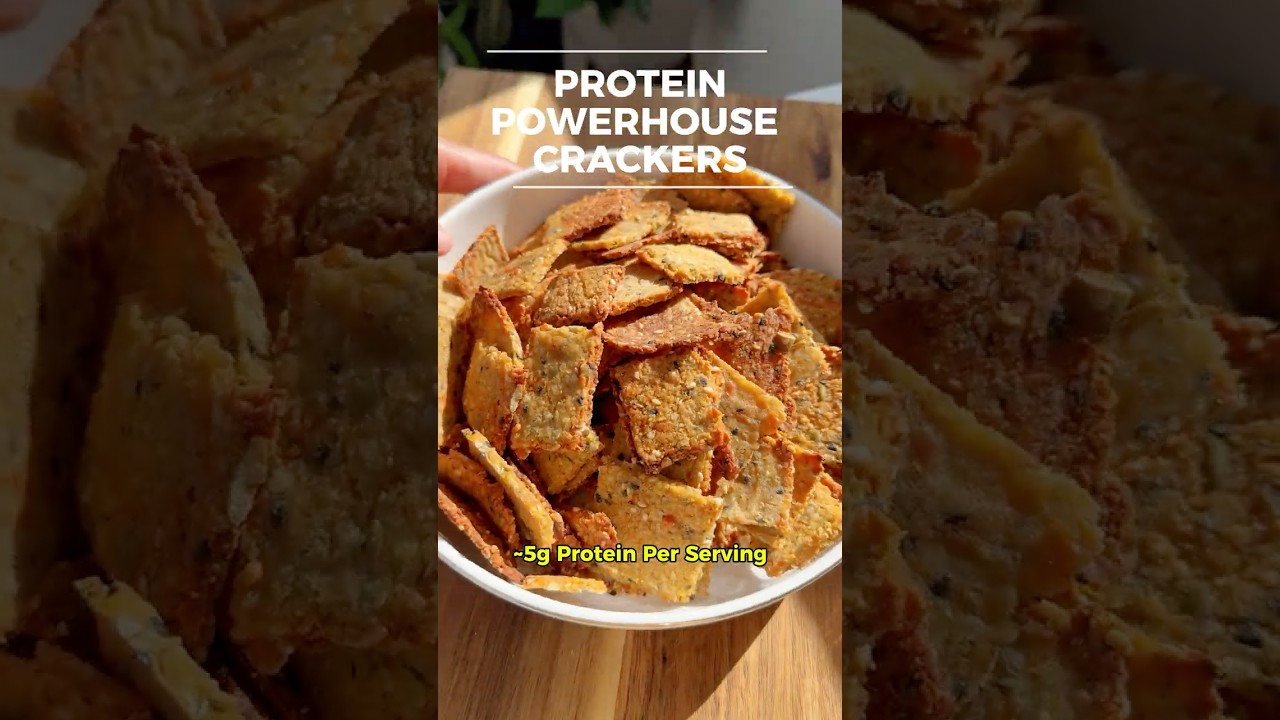
These guilt-free, homemade split mung crackers are the ultimate flourless, high-protein snack to keep you fueled throughout the day. This nutrient-dense recipe uses zero processed flours, no added oils in the dough, and absolutely no preservatives. A single full batch yields approximately 85-90 crackers, with a satisfying serving size calculated at 5 crackers. While some might assume a legume-based snack is heavy in carbohydrates, these crackers are actually an incredible low-carb option. A full 5-cracker serving contains only 7.5 grams of total carbohydrates, and once you subtract the 2 grams of healthy dietary fiber, you are left with just 5.5 grams of net carbs! Because we use whole, soaked split mung beans instead of refined flour, these are complex, slow-digesting carbohydrates that won\\\\\\\\\\\\\\\\\\\\\\\\\\\\\\\\\\\\\\\\\\\\\\\\\\\\\\\\\\\\\\\\\\\\\\\\\\\\\\\\\\\\\\\\\\\\\\\\\\\\\\\\\\\\\\\\\\\\\\\\\\\\\\\\\\\\\\\\\\\\\\\\\\\\\\\\\\\\\\\\\\\\\\\\\\\\\\\\\\\\\\\\\\\\\\\\\\\\\\\\\\\\\\\\\\\\\\\\\\\\\\\\\\\\\\\\\\\\\\\\\\\\\\\\\\\\\\\\\\\\\\\\\\\\\\\\\\\\\\\\\\\\\\\\\\\\\\\\\\\\\\\\\\\\\\\\\\\\\\\\\\\\\\\\\\\\\\\\\\\\\\\\\\\\\\\\\\\\\\\\\\\\\\\\\\\\\\\\\\\\\\\\\\\\\\\\\\\\\\\\\\\\\\\\\\\\\\\\\\\\\\\\\\\\\\\\\\\\\\\\\\\\\\\\\\\\\\\\\\\\\\\\\\\\\\\\\\\\\\\\\\\\\\\\\\\\\\\\\\\\\\\\\\\\\\\’t spike your blood sugar. Balanced with 3.8 grams of plant-based protein and 3.5 grams of healthy fats from the powerhouse seed blend, just a small handful gives you a complete, filling snack that provides clean, long-lasting energy.
They are a great alternative for those seeking a protein-rich, gluten-free snack.
Instructions
- Soak Mung Beans for 3–4 hours or overnight .Wash your soaked split mung beans thoroughly in cold water and drain them completely in a strainer. Transfer the drained mung beans directly into your blender or food processor. Do not add any water or oil. Blend continuously until it transforms into a completely smooth, thick, and clean paste.
- Transfer the smooth mung bean paste out into a mixing bowl. Add the finely grated carrots, finely chopped sunflower seeds, roasted sesame seeds, and the entire savory spice blend (salt, pepper, oregano, garlic powder, and onion powder). Mix everything together thoroughly until the spices and seeds are evenly distributed.
- Add the rolled oats and the shredded cheese into the bowl. Use your hands to gently mix and press everything together until a soft dough forms. No heavy kneading is required—just bring the ingredients together into a cohesive ball. Do not panic if the dough feels quite soft; it is meant to be soft and will firm up beautifully while baking.
- Drizzle a few drops of olive oil onto a large sheet of parchment paper and spread it thin (2 to 4 mm). Divide your dough into two batches for easier handling. Place the first batch on the parchment paper, place another sheet of parchment paper on top, and roll the dough out as thin as possible for the maximum crunch. Remove the top sheet of parchment and use a pizza cutter or a sharp knife to slice the dough into your desired cracker sizes. Repeat with the second batch. This should yield around 80 to 90 crackers in total depending on your cut size.
- Preheat your oven to 350°F (180°C). Slide your parchment paper sheets with the cut crackers onto baking trays. Bake for 25 to 30 minutes until the edges are golden brown.
Oven Rods Variation: If you are using a traditional oven with active top and bottom heating rods instead of a modern convection fan, the heat will be much more direct and intense. Keep the temperature at 350°F (180°C) but start checking on them closely after the 10 to 15-minute mark so they don't over-brown!
- For an extra shattering crunch, turn the oven down to 325°F (160°C) and switch it to a quick broil for 2 to 3 minutes right at the end. Watch them like a hawk during this step so they don't burn! Let them cool completely on the tray, where they will continue to crisp up, before storing them in a glass jar.
💡 Chef’s Notes
For easier handling or variation, you can substitute with almond flour (adds nuttiness), chickpea flour (improves structure), any gluten-free flour (helps bind), or oat flour (softer texture). You can also skip flour completely; the recipe still works, yielding nutty, crisp crackers that are a bit more delicate to shape.
Store fully cooled crackers in an airtight jar for at least a week at room temperature. In humid conditions, reheat in an oven or air fryer for 3-5 minutes to restore crunch. Do not store while warm, as they will soften.
Always preheat the oven fully before baking. Roll the dough evenly thin for uniform crispness. If edges brown faster, rotate the tray halfway through baking. Broiling is optional but provides extra crunch. Ensure crackers cool completely before storing for optimal crispness.
My Personal Experience:
What you see in the video is exactly how this oil-free batch turned out! Because the recipe contains cheese, the natural fats are enough to give them a great crunch without any added oil. I actually tested a few different variations: one small batch without any flour, and another where I added oil and extra cheese. They all work perfectly but give different textures—adding the extra cheese and oil definitely makes them much more crispy and light, while the oil-free version is more deeply crunchy. Just make sure to follow all the tips like rolling them thin, keeping a close eye on the baking since ovens vary, and you can add a little oat flour or skip it based on the texture you prefer!
Air-fryer Bake:
Bake at the same temperature (180°C / 350°F), it just takes less time! Spread the dough thin on parchment paper and air fry for about 10 to 12 minutes. Make sure to make in small batches , don’t over crowd the basket and carefully flip them halfway through and remove the parchment paper for the last 2 minutes so they cook evenly. Because the cooking time is shorter, adding a bit more cheese or a splash of oil to the dough really helps them cook through and crisp up fast! Just keep a close eye on them since air fryers move quickly.
Hope yours turn out the way you wanted 💚
Video Tutorial
More Related Recipes

High Protein Mung Bean Crackers
These Grain-Free Mung Bean Power Crackers are a high-protein snack that satisfies…

High-Protein Red Lentil Tomato Crackers
These flourless red lentil crackers are a wholesome, high-protein snack made with…

High Protein Lentil Quinoa Tofu Bake
Tired of flour leaving you bloated and sluggish? This High Protein Flourless…
High Protein Sweet Potato & Mung Bean Crackers
These crispy homemade crackers are made with wholesome ingredients like mung beans,…

High Protein Avocado Chickpea Crackers
These homemade avocado chickpea crackers are crispy, light, and surprisingly delicious. Made…

High Protein Salad: Warm Roasted Chickpea Salad with Tangy Mint Peanut Dressing | Healthy Recipe
Warm Roasted Chickpea Salad with Tangy Mint Peanut Dressing is a healthy,…

If You Don’t Eat Flour, Make This High Protein Lentil & Tofu Bake (30g Protein lunch)
The Ultimate Flourless Savory Bake (Lentils & Tofu) This isn’t just a…
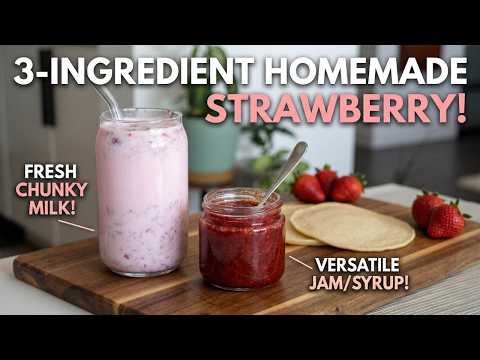
If You Have Strawberries 🍓 Make This Strawberry Milk Instead of Buying It from Store
If you love strawberry milk but want to avoid artificial syrups and…

If You Have Almond Flour, Make These Easy Gluten-Free Crackers!
Stop buying store-bought crackers filled with preservatives and starches! These Gluten-Free Almond…